I am a big fan of iMovie, and I have used iMovie time and time again in the classroom. I felt quite uncomfortable trying something new. I mean, this is exactly what happens in education. Students, teachers and schools all love following status quo! Evidently, Katia is challenging my thinking!
I did some research, and browsed the Apple app store to find a new app that would work well with what I was doing. I also wanted to be sure that a free version of the app was worthwhile and I did not have spend money to learn something new. Another teacher pet peeve I have is when someone tells me about something awesome, and then makes me huck over my own money!
First and foremost, you need to record your video clips for your video that you are creating. Once you have downloaded the app, you can select video, allow access to photos and videos on your device, and select the videos!

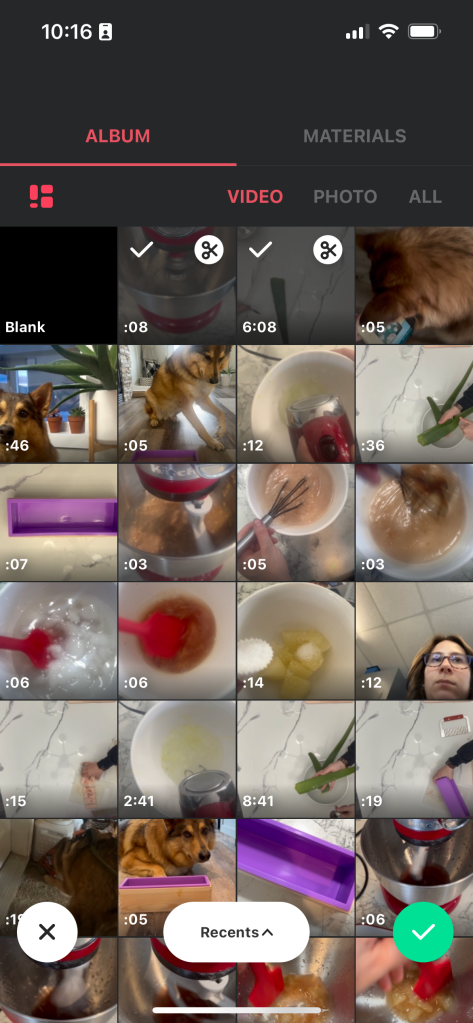
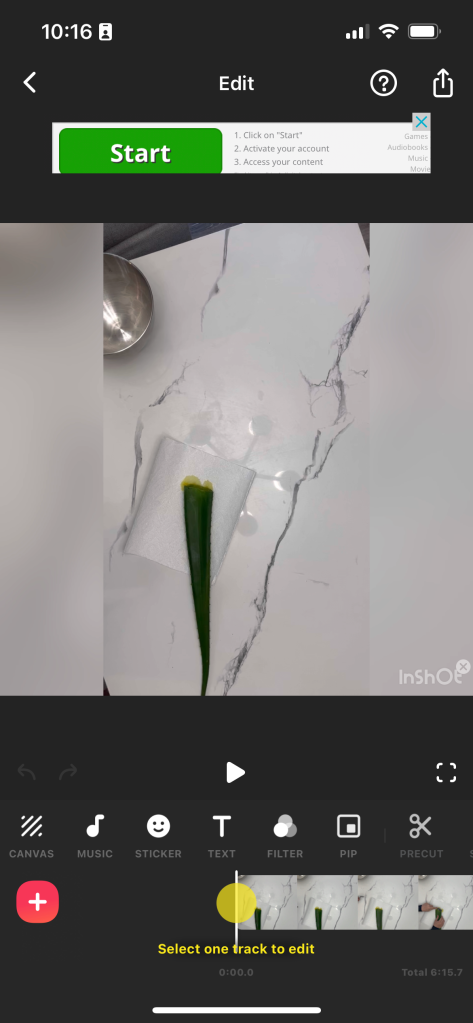
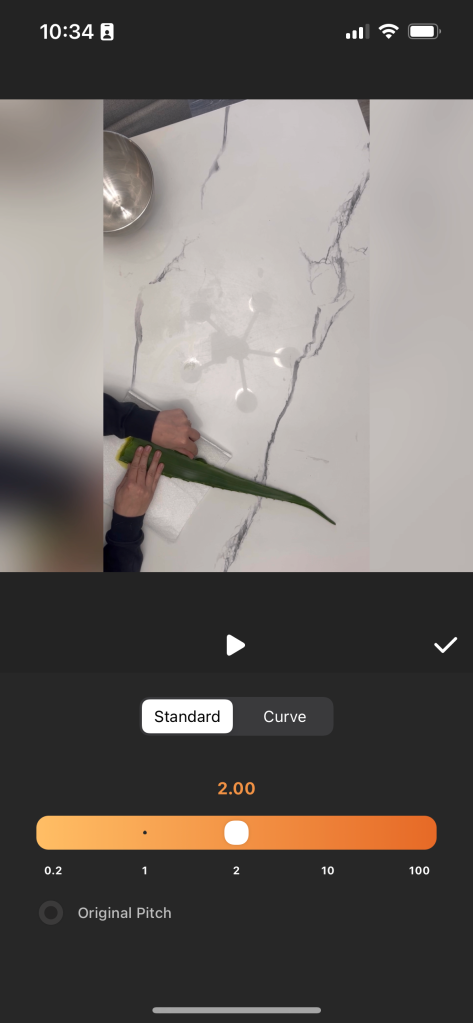
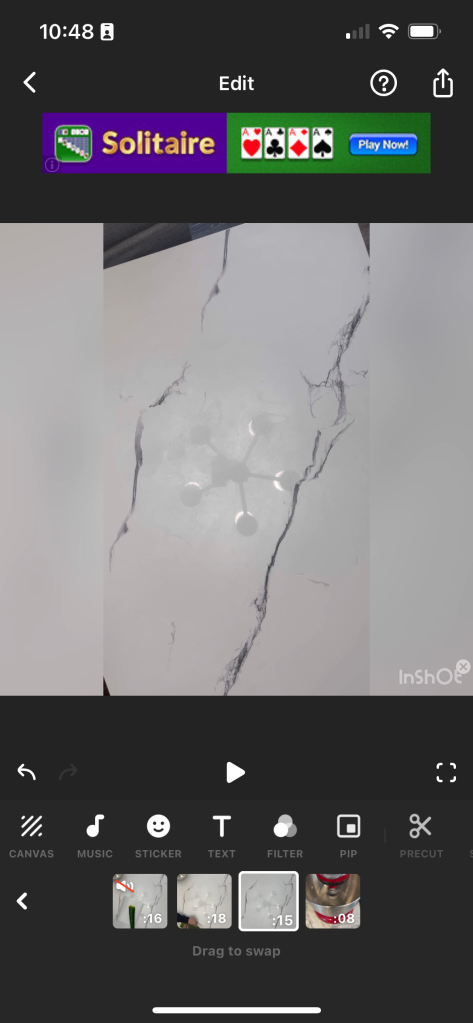
After you have your videos uploaded, they will be uploaded in the order that you choose from your library. I personally like to crop and clip my videos my actual photos/videos on my phone, but you can also clip and crop in the app. Here, below I have an incredibly long clip of harvesting my aloe and cleaning the table afterwards. It is too long for my choice, so as you can see there are a variety of options to edit this specific clip. I can pre-cut, split, delete, change the volume, add a voice effect, denoise the clip, adjust the speed. Using the split option, you can choose what portion of the video you want to keep. Click and drag the bottom white bar to adjust as seen on the second picture below. The second feature that I like to use is the speed feature, as it shows the same amount of video footage in twice the time! The third picture below is showing the speed option. I like to use double time and this is the max that I can use on iMovie, but Inshot seems to have even more speed options!

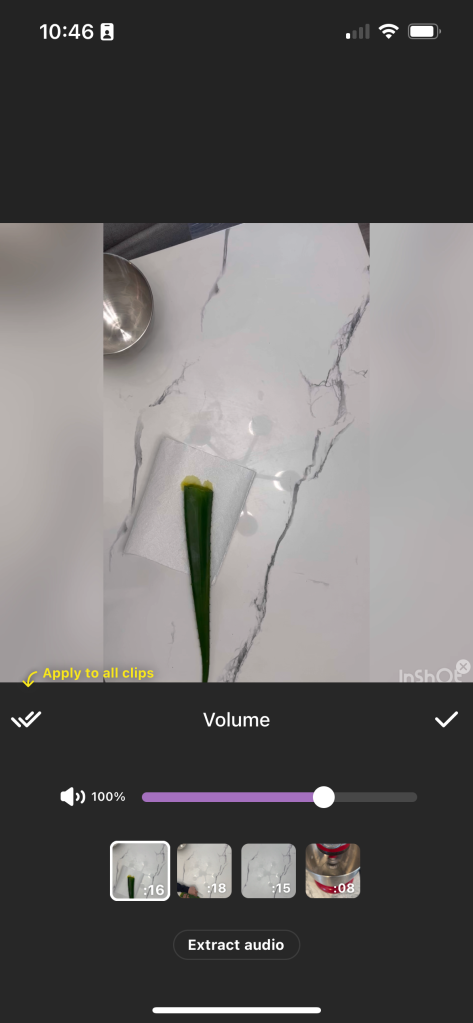
I also love to add a little bit of mood setting music to my videos. Very frequently, I am making banging noises, or my husband and dog are making noise while I am filming. So, to do this, I need to silence the videos that I have uploaded, and then add music. Step 6 shows where we can silence our video, using the volume button, and then Step 7 shows how we can choose a new sound for our video. For the final step, I love to add some text to explain what is going on in each clip. Step 8 shows what it looks like to add text to each video, or just once if you prefer!

Be sure to check out how my video turned out on my blog post this week! You can find it here!
Now that you have read through my tutorial, here is a tutorial that I used for my first go around as well!