AH! The end is here! I have poured my final soap of the semester. I am not going to lye (pun intended), the smell of aloe Vera is starting to make me want to vomit! Quite like a pre-assessment and a final assessment, this soap is exactly the same as the soap that I created for my very first attempt seven weeks ago. For my final post, I hope to have a side by side comparison of the visual aesthetics of the two soaps.
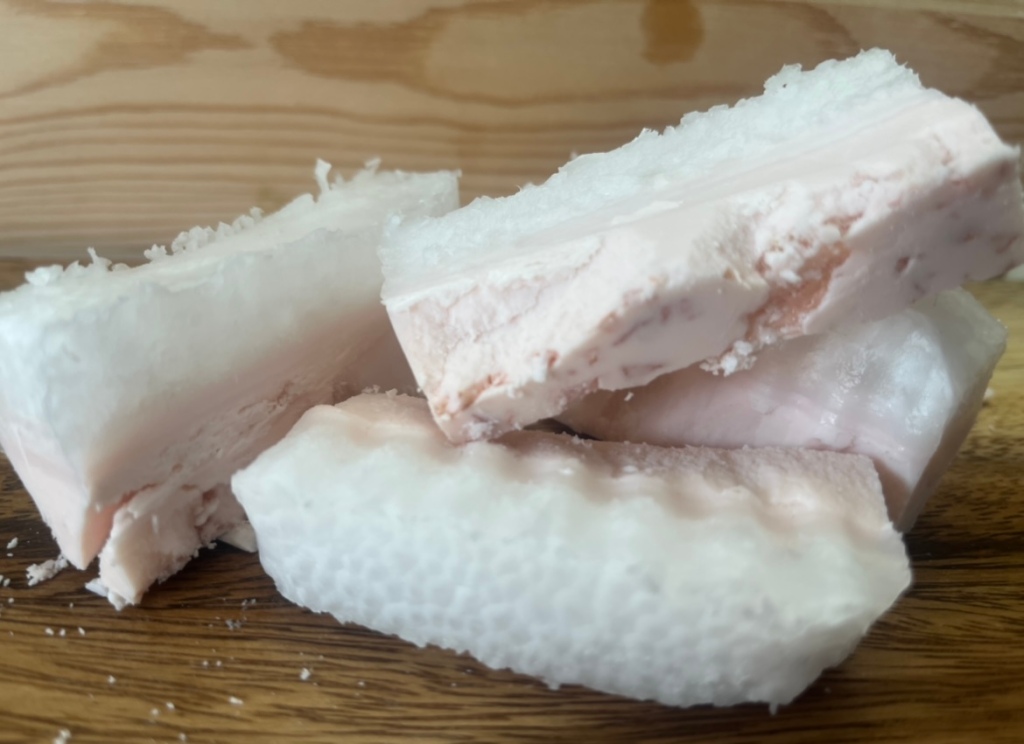
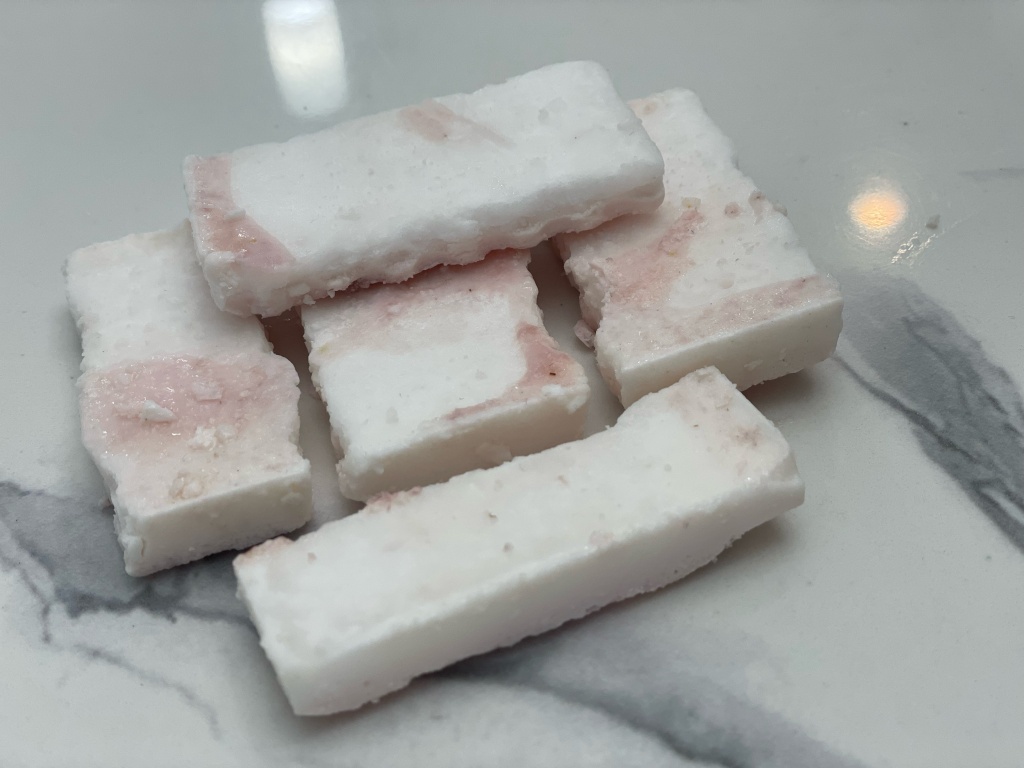
This soap is simple, well at least today it was! Now that I have a mojo going, this process does not take me an entire evening anymore! After doing some reading on a Facebook group I joined, I started to realize the “chunks” in my soap are not bad things! Whew! That was something that I was really irritated about, that it seemed like I could never mix the aloe enough to turn it into a smooth gel. This is what they are calling pulp. The irony is that I hate orange juice with pulp so I subconsciously realized why I was so angry about the pulp in my soap!
Check out my process here, and stay tuned for my final reflection post about my soap-tastic adventure!
Well, it was the up and up and then it was the down and down. This week I had a serious separation problem, and I do not know why.
Here it is, in all its glory. (or lack there of)
So, I will try again. After doing some research on Tik Tok and Instagram, I have come to the conclusion that I did not mix them enough. Some great accounts that I found were @cuddleswithnature on Instagram, @peaceonpo on Instagram and then I followed @spicymoustache on Instagram and Tik Tok, because he had this video showing how to make soap using aloe and a soap base. That is what I will try for my FINAL project next week, but for this week I am trying my same recipe as last week again. I really feel like it was a fail of a soap, and I believe that I did not mix my ingredients enough before pouring it. I recorded only a few portions of the process because I was a little rushed #teacherlife, but you can check out my post from last week here, and the video on the process below!
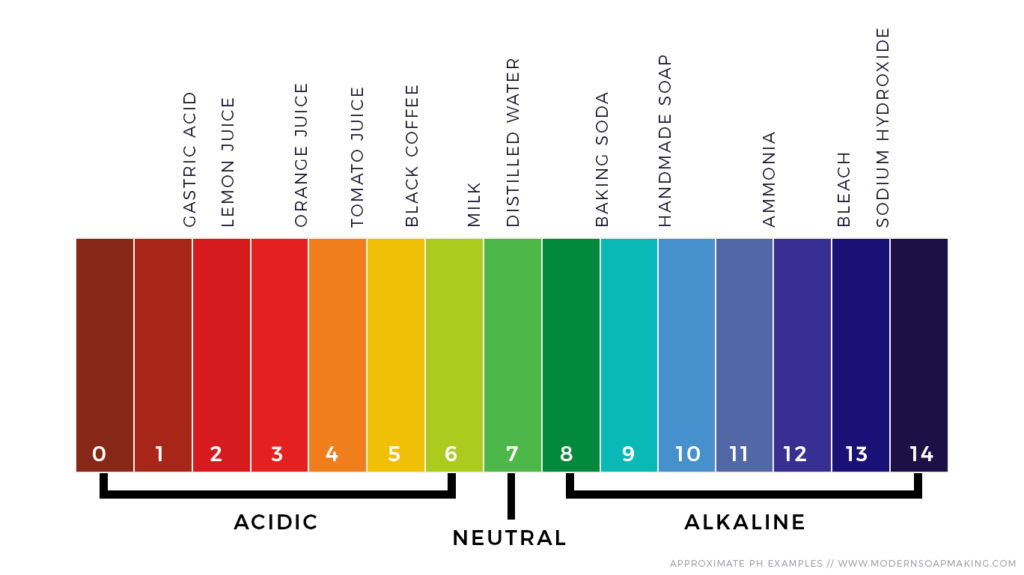
Here we go folks, the comeback soap. My four ingredient Aloe Vera soap went fairly well. I was realizing besides appearance, I had no idea how to actually test my soap. After doing some research, the suggestion is to wait about 3-4 weeks, especially with the aloe being one of the main ingredients. I did some even further research to see what I should do to make sure that it is safe for your skin. I found that testing the pH is the best way. I am going to purchase this pH testing kit, and next week I should be able to test my first soap. Here is where I learned how to test the pH!
My soap should (hopefully) have a pH of around 9-10.
My only disappointment again this week is that even when I mixed the exact measurement and weight of lye solution to the aloe, it still turned red. I was wondering if I was not stirring enough, but when I watched the next video, they even let the two sit together and allow the lye to melt the aloe. One of the first suggestions that I found in my research was that you must freeze the aloe so the lye does not burn the aloe. I feel like this is still somehow happening, even though I am freezing it!
Youtube videos have been the only thing that I have really been able to actually learn the soap making process with. I found another video, which gives me most of the same information this week as the ones from previous weeks. I am hoping that I can add some essential oils to my batch of soap. I am adding a peppermint/cedar smell as suggested in the video. Here is the video I am learning from this week. Unfortunately, she has restrictions on where her video can be posted, so I have to link it for you!
Here is my video of how it is made. I am RUNNING OUT OF ALOE VERA! My poor plant is not producing enough aloe for my project and I want to reserve some of the final stems I have for a few weeks down the road. I might have to buy some aloe Vera next week!
I am a big fan of iMovie, and I have used iMovie time and time again in the classroom. I felt quite uncomfortable trying something new. I mean, this is exactly what happens in education. Students, teachers and schools all love following status quo! Evidently, Katia is challenging my thinking!
I did some research, and browsed the Apple app store to find a new app that would work well with what I was doing. I also wanted to be sure that a free version of the app was worthwhile and I did not have spend money to learn something new. Another teacher pet peeve I have is when someone tells me about something awesome, and then makes me huck over my own money!
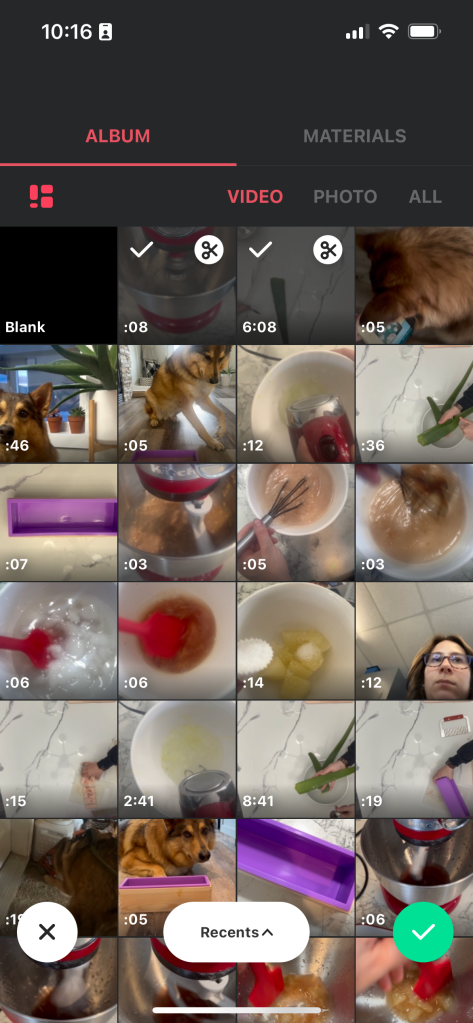
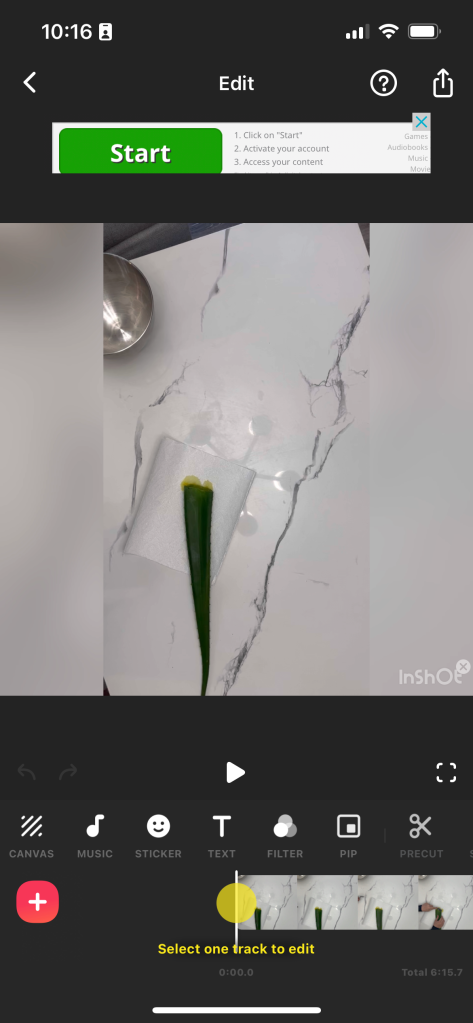
First and foremost, you need to record your video clips for your video that you are creating. Once you have downloaded the app, you can select video, allow access to photos and videos on your device, and select the videos!
Step 1: Choose Video
Step 2: Choose Videos
Step 3: Videos are Uploaded
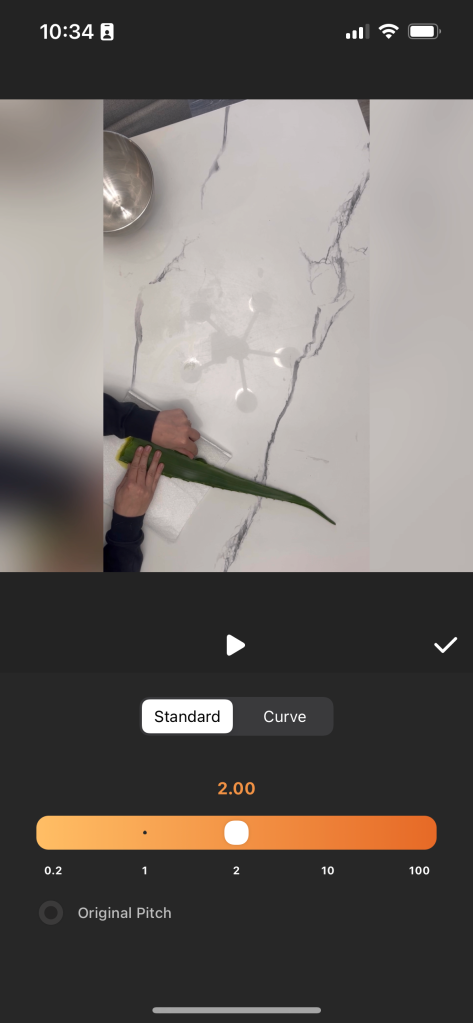
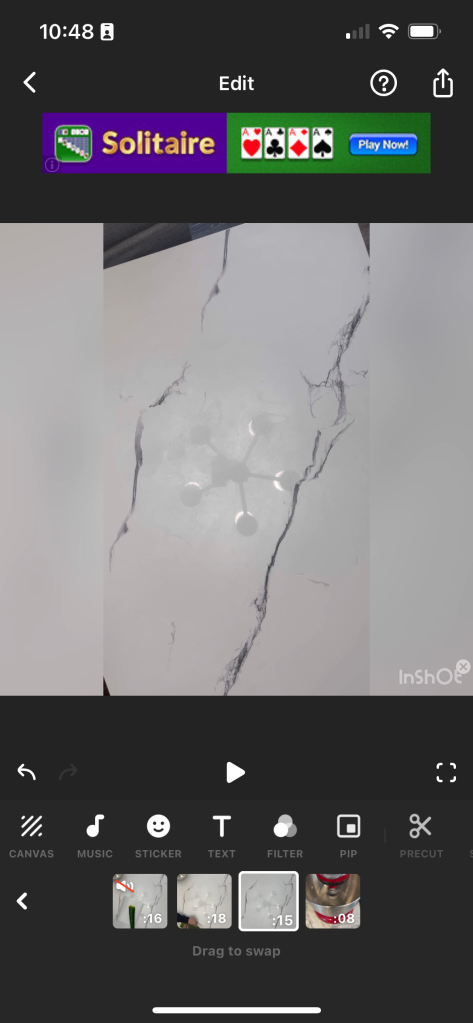
After you have your videos uploaded, they will be uploaded in the order that you choose from your library. I personally like to crop and clip my videos my actual photos/videos on my phone, but you can also clip and crop in the app. Here, below I have an incredibly long clip of harvesting my aloe and cleaning the table afterwards. It is too long for my choice, so as you can see there are a variety of options to edit this specific clip. I can pre-cut, split, delete, change the volume, add a voice effect, denoise the clip, adjust the speed. Using the split option, you can choose what portion of the video you want to keep. Click and drag the bottom white bar to adjust as seen on the second picture below. The second feature that I like to use is the speed feature, as it shows the same amount of video footage in twice the time! The third picture below is showing the speed option. I like to use double time and this is the max that I can use on iMovie, but Inshot seems to have even more speed options!
Step 4: Splitting the Clips
Step 5: Changing the Speed
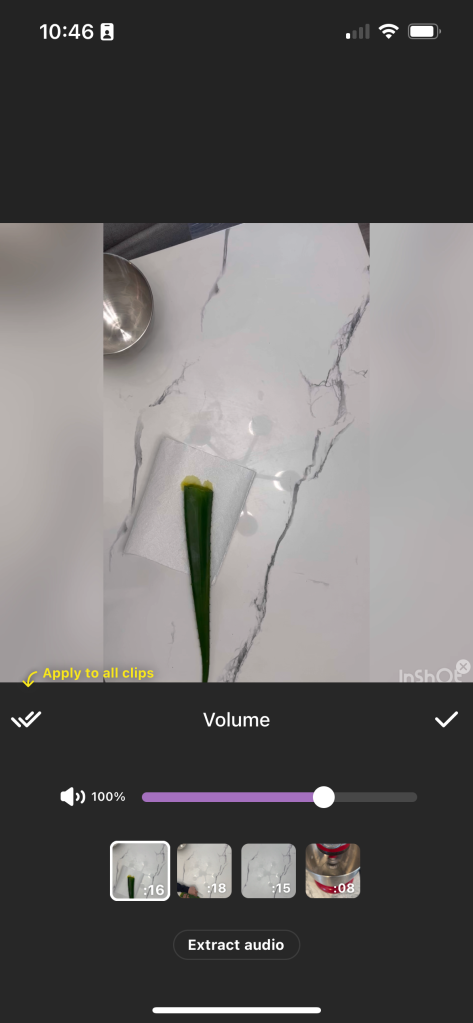
I also love to add a little bit of mood setting music to my videos. Very frequently, I am making banging noises, or my husband and dog are making noise while I am filming. So, to do this, I need to silence the videos that I have uploaded, and then add music. Step 6 shows where we can silence our video, using the volume button, and then Step 7 shows how we can choose a new sound for our video. For the final step, I love to add some text to explain what is going on in each clip. Step 8 shows what it looks like to add text to each video, or just once if you prefer!
Step 6: Turning down the volume
Step 7: Adding Music
Step 8: Add text
Be sure to check out how my video turned out on my blog post this week! You can find it here!
Now that you have read through my tutorial, here is a tutorial that I used for my first go around as well!
Well, it really is only up from here. Last week, my three ingredient aloe vera soap. You can find that blog post here. Here is nice picture of my not-so awesome three ingredient soap!
Three Ingredient Aloe Vera Soap
It did not go as planned, for probably mannnnny reasons. First off, I did not measure a dang thing. Of course, then I realized that I probably should not even try to use the soap. Secondly, it took me 25 minutes to harvest my aloe Vera, and after re-watching the video I posted in the post, I realized everything I did not do. I found a list of troubleshooting ideas about soap making on this link! Another slightly alarming part of this process was the danger and protection needed against the lye ingredient. Simba has always wanted to be an active member of this process. I am wondering if he needs a hazmat suit. Glasses and gloves don’t work for his active lifestyle. My soap is chunky, discoloured and I did not make even close to enough of a recipe. HELLLLLLO ingredients and measuring!
I really enjoyed the creator for my first attempt. It was simple, effective and I even realized that there was a list in the description and how much of each ingredient you should use. Wow, that is a great idea. So this time I am sure that I will measure appropriately!
I felt right from the
beginning that I
was on a better
track than last week.
– Me this week
Even though my three ingredient soap did not go as planned, I thought adding a small and basic fourth ingredient is a step up, but not a steep step. I purchased a small kitchen scale to measure my ingredients. I got it at my local home hardware, but here is a link for a kitchen scale on trusty old Amazon!
I am using the same resource for this soap. I think the issues last week were more of a ME problem and less of the educational resources I was using. Plus, the YouTube author is named “The Aloe Vera Garden”, who could know better than that? Here is the instructional video that I found!
You can check out my process below. I did not show the process of making the aloe vera ice cubes as I showed that last week, but I followed the same process. The harvesting of the aloe was much easier this week with the spoon technique (yes, exactly how the video showed). I felt right from the beginning that I was on a better track than last week. Reading directions and watching videos as I work is the KEY to success! I also added some fun subtitles in my video!
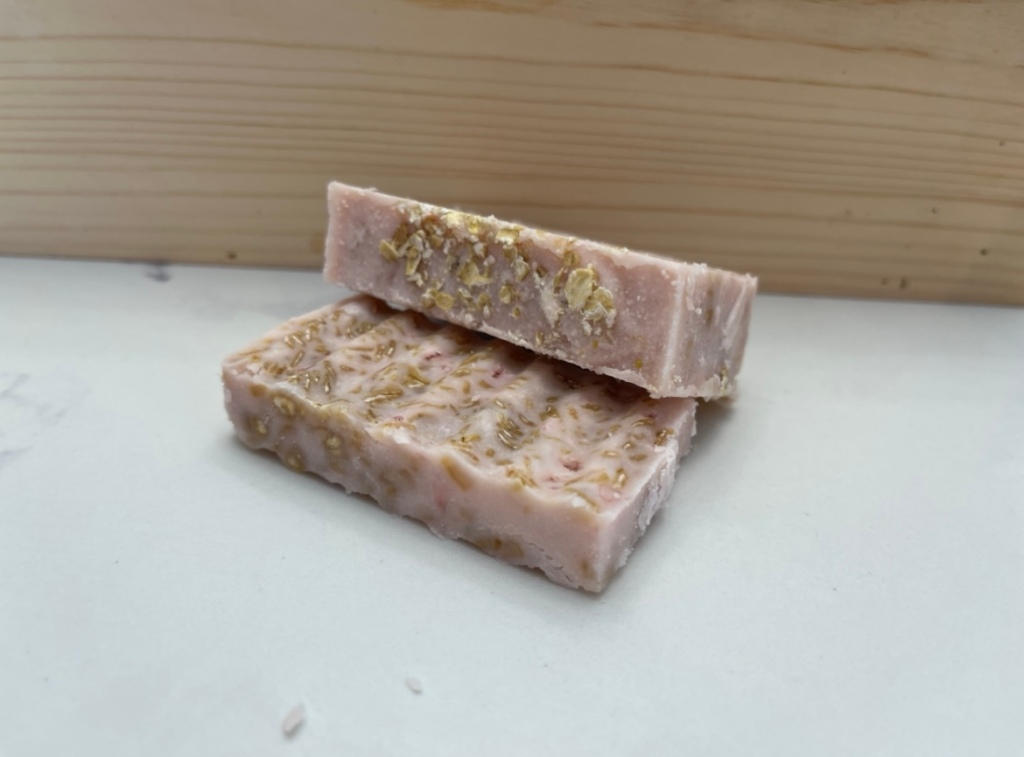
Next week I will update you with my success (or fail) of oatmeal soap. Now, off to find a new recipe to try next week!